Home > Faq > Lighting Poles & Accessories FAQs

Step-by-Step Installation Guide for Outdoor Lighting Projects


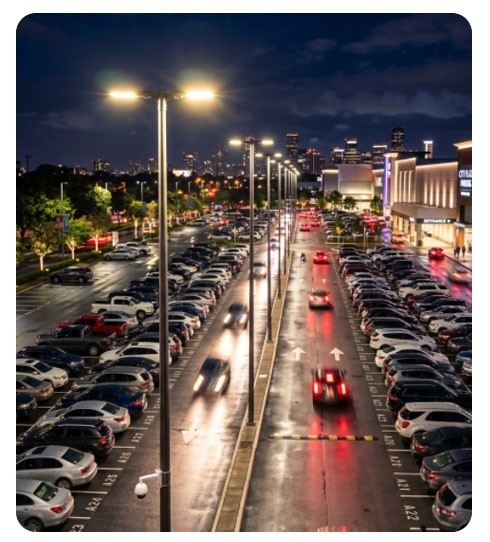
Installing a solar street light with pole is not just about fixing hardware—it directly affects lighting efficiency, safety performance, and long-term maintenance cost. A correct installation ensures stable power generation, proper illumination coverage, and longer system lifespan.

Below is a practical, field-oriented installation guide based on real outdoor lighting project experience.


1. Pre-Installation Planning (Most Important Step)

Before any digging or assembly, proper site planning determines whether the system will work efficiently.

Key checks before installation:

  • Sunlight exposure: Minimum 5–6 hours of direct sunlight per day (no shading from trees or buildings)
  • Lighting requirement: Road width, pole spacing, and lux level target
  • Soil condition: Soft soil may require reinforced foundation
  • Wind load consideration: Important for coastal or open areas
  • Pole height selection: Common range is 4m–12m depending on road type

? Example:

  • Residential road: 4–6m pole
  • Parking lot / rural road: 6–8m pole
  • Highway or large area: 8–12m pole

2. Foundation Construction

A stable foundation is the backbone of the entire solar street light system.

Standard process:

  1. Dig foundation pit (typically 600×600×800 mm or customized based on pole height)
  2. Place anchor bolts (pre-aligned using template)
  3. Pour concrete (C25 or higher recommended)
  4. Allow curing time (usually 5–7 days)

Common mistake to avoid:

  • Uneven anchor bolt positioning → leads to tilted pole installation

3. Solar Street Light Assembly (Before Pole Erection)

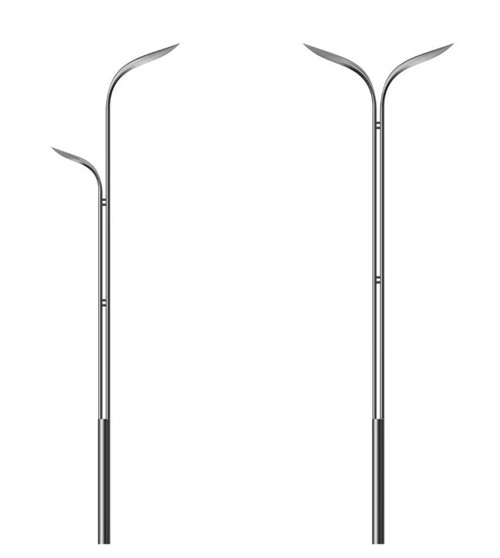
Most modern systems are pre-assembled, but key components still need inspection:

  • Solar panel alignment bracket
  • LED light fixture angle
  • Battery (integrated or external box)
  • Controller wiring (charge & discharge system)

⚠️ Ensure waterproof connectors are tightly sealed to prevent future failure.


4. Pole Installation and Lifting

This is the most critical physical installation step.

Process:

  1. Attach solar panel and light fixture to the pole (if not pre-mounted)
  2. Connect internal wiring through pole cavity
  3. Lift pole using crane or manual hoist
  4. Align pole with anchor bolts
  5. Tighten nuts evenly in cross pattern
  6. Check vertical alignment using level tool

? Field tip:
Even a 2–3° tilt can reduce solar efficiency and lighting coverage over time.


5. Electrical Connection & System Activation

After pole fixing:

  • Connect battery to controller
  • Verify solar panel polarity
  • Test LED lighting response (day/night sensor simulation)
  • Check charging indicator status

Most systems will automatically enter working mode after installation.


6. System Testing (24–48 Hours Observation)

Do not skip testing phase.

Check:

  • Charging performance during daytime
  • Automatic switch-on at dusk
  • Lighting duration (usually 8–12 hours standard)
  • Sensor response stability

7. Common Installation Mistakes (Avoid These)

IssueResult
Wrong pole orientationReduced solar charging efficiency
Shading on panelShort lighting time at night
Weak foundationPole tilting or collapse risk
Loose waterproof connectorsController failure
Incorrect battery wiringSystem not working

8. Maintenance Tips After Installation

  • Clean solar panel every 3–6 months
  • Check battery health annually
  • Inspect bolts after strong wind or storms
  • Ensure no new shading objects nearby

FAQ: Solar Street Light Installation

1. How deep should the pole foundation be?

Usually 60–100 cm depending on pole height and wind conditions.

2. Can solar street lights work in cloudy areas?

Yes, but battery capacity must be designed with 2–3 backup days.

3. Do solar street lights need wiring?

No external grid wiring is required—system is fully off-grid.

4. How long does installation take per unit?

Typically 1–2 hours per pole after foundation is ready.

5. What is the best pole height for roads?

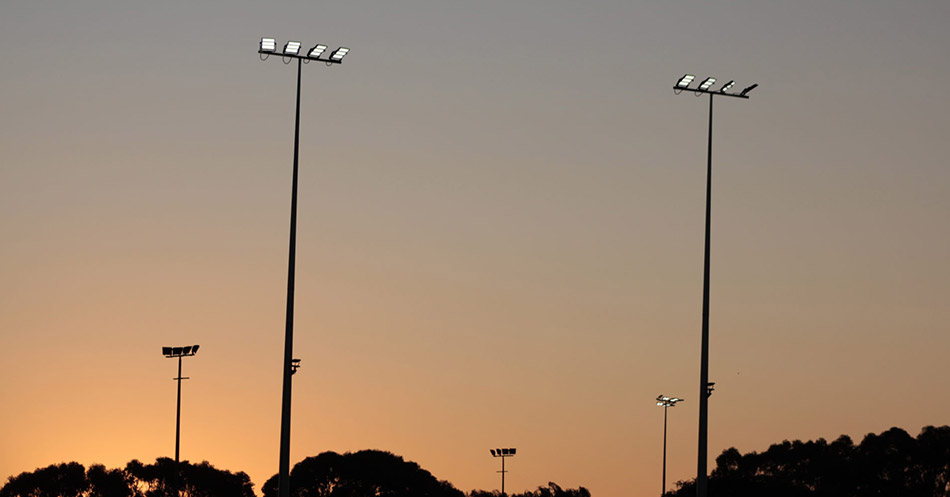
Most road projects use 6–8 meter poles for balanced coverage.


Conclusion

Installing a solar street light with pole requires more than simple assembly—it is a system-level process involving foundation strength, solar exposure design, electrical safety, and alignment accuracy.

A well-installed system can significantly reduce maintenance cost while ensuring stable lighting performance for 5–10 years.

For commercial projects or bulk procurement, working with an experienced solar lighting manufacturer like Jieyao Lighting can help ensure proper system design, pole matching, and long-term reliability.


Contact Us

Get a custom lighting solution and quotation for your project.
About Jieyao Lighting: Leading Manufacturer of Energy-Efficient LED Street Lights1. Manufacturing Background & ScaleEstablished in 2017 and backed by a 20-year manufacturing heritage, jieyao lighting ...

Do you have any questions or requests?

Email: mr.xu@yzldzm.com
Tel: +86 13815843784
WhatsApp: +86 13815843784
Contact
Copyright © 2025 Yangzhou Jieyao Lighting Equipment Co., Ltd. All rights reserved
×
Send Your Inquiry Today
We use cookie to improve your online experience. By continuing to browse this website, you agree to our use of cookie.

Cookies

WhatsApp avatar

Click to Chat.

Im online now.

Hey, I'm Xu Jie from Jieyao Lighting. What can I do for you? Welcome to contact me, WhatsApp: +86 13815843784

WhatsApp Us

WhatsApp us